Wednesday 27 July 2011

The Decals

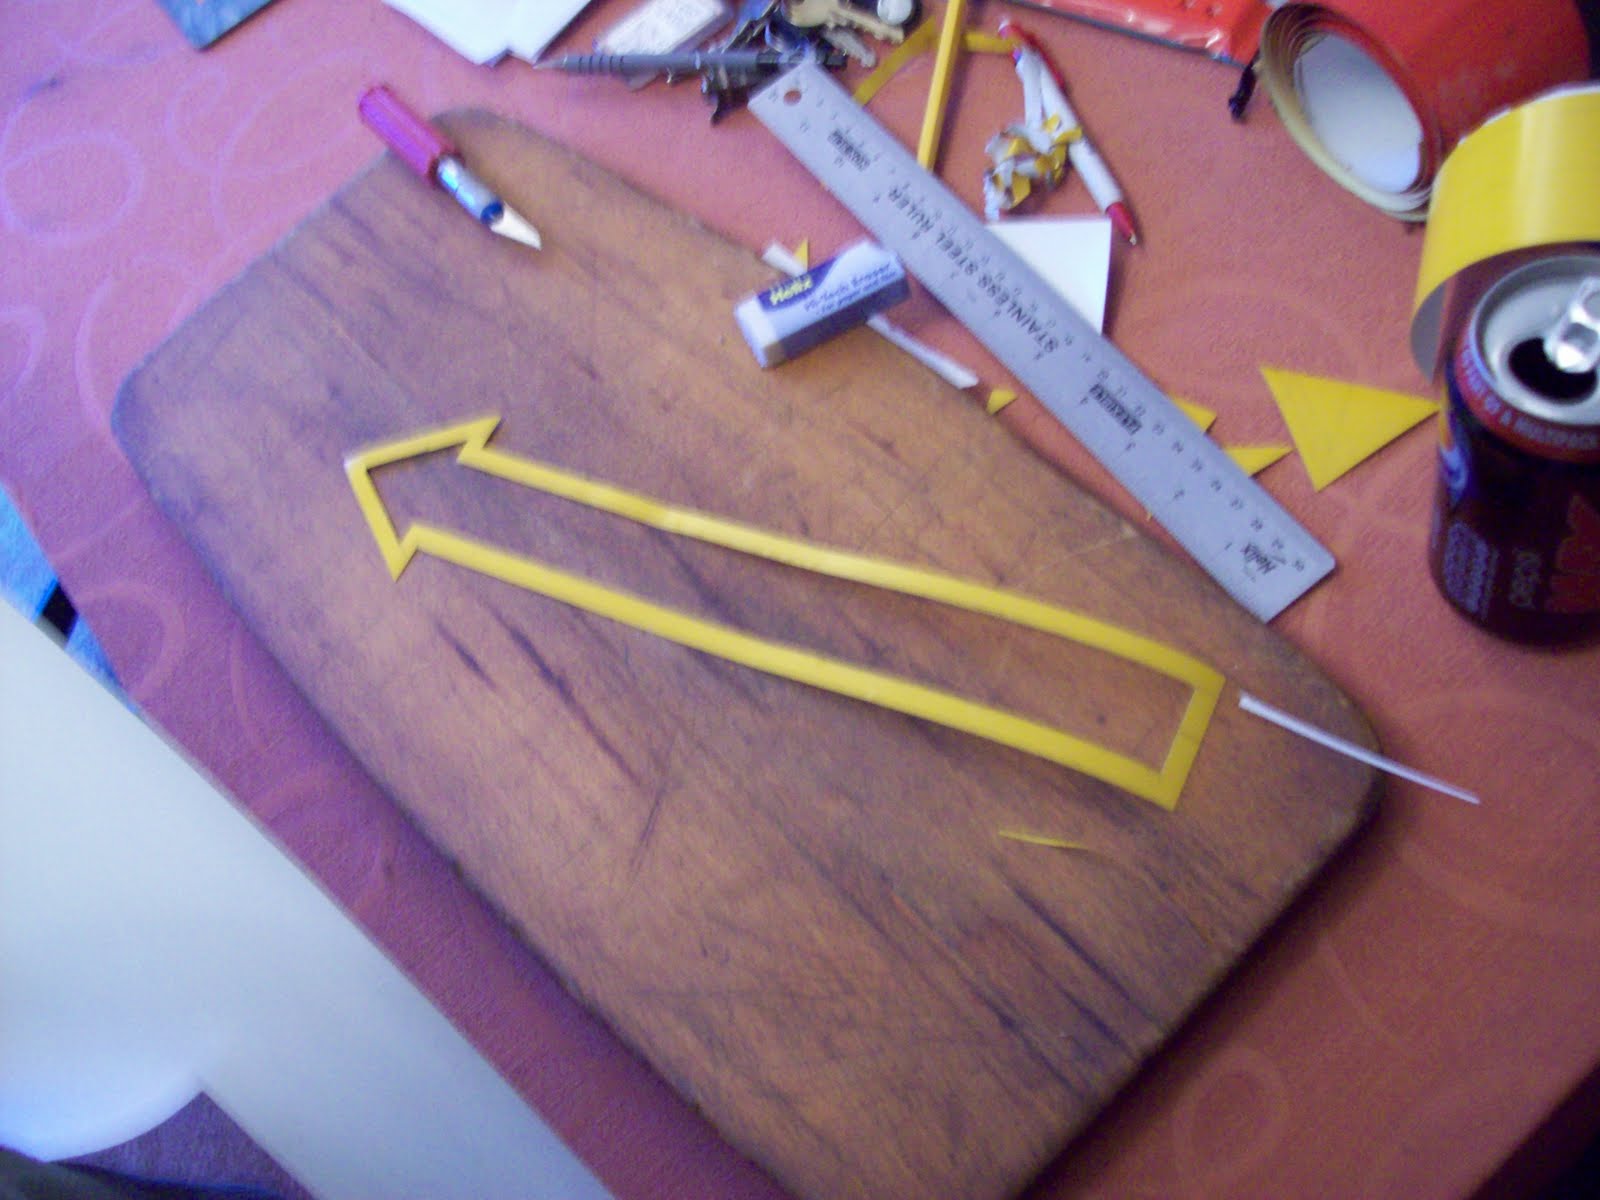
After painting, more sanding and lots of swearing (off mum), we made a start on making some copy signage. The escape arrow itself wasn’t too bad to make, along with the hatching across the small rescue panel, but we found the lettering to be much harder and out of our range, so dad found a place in Oldham who made some rescue lettering.

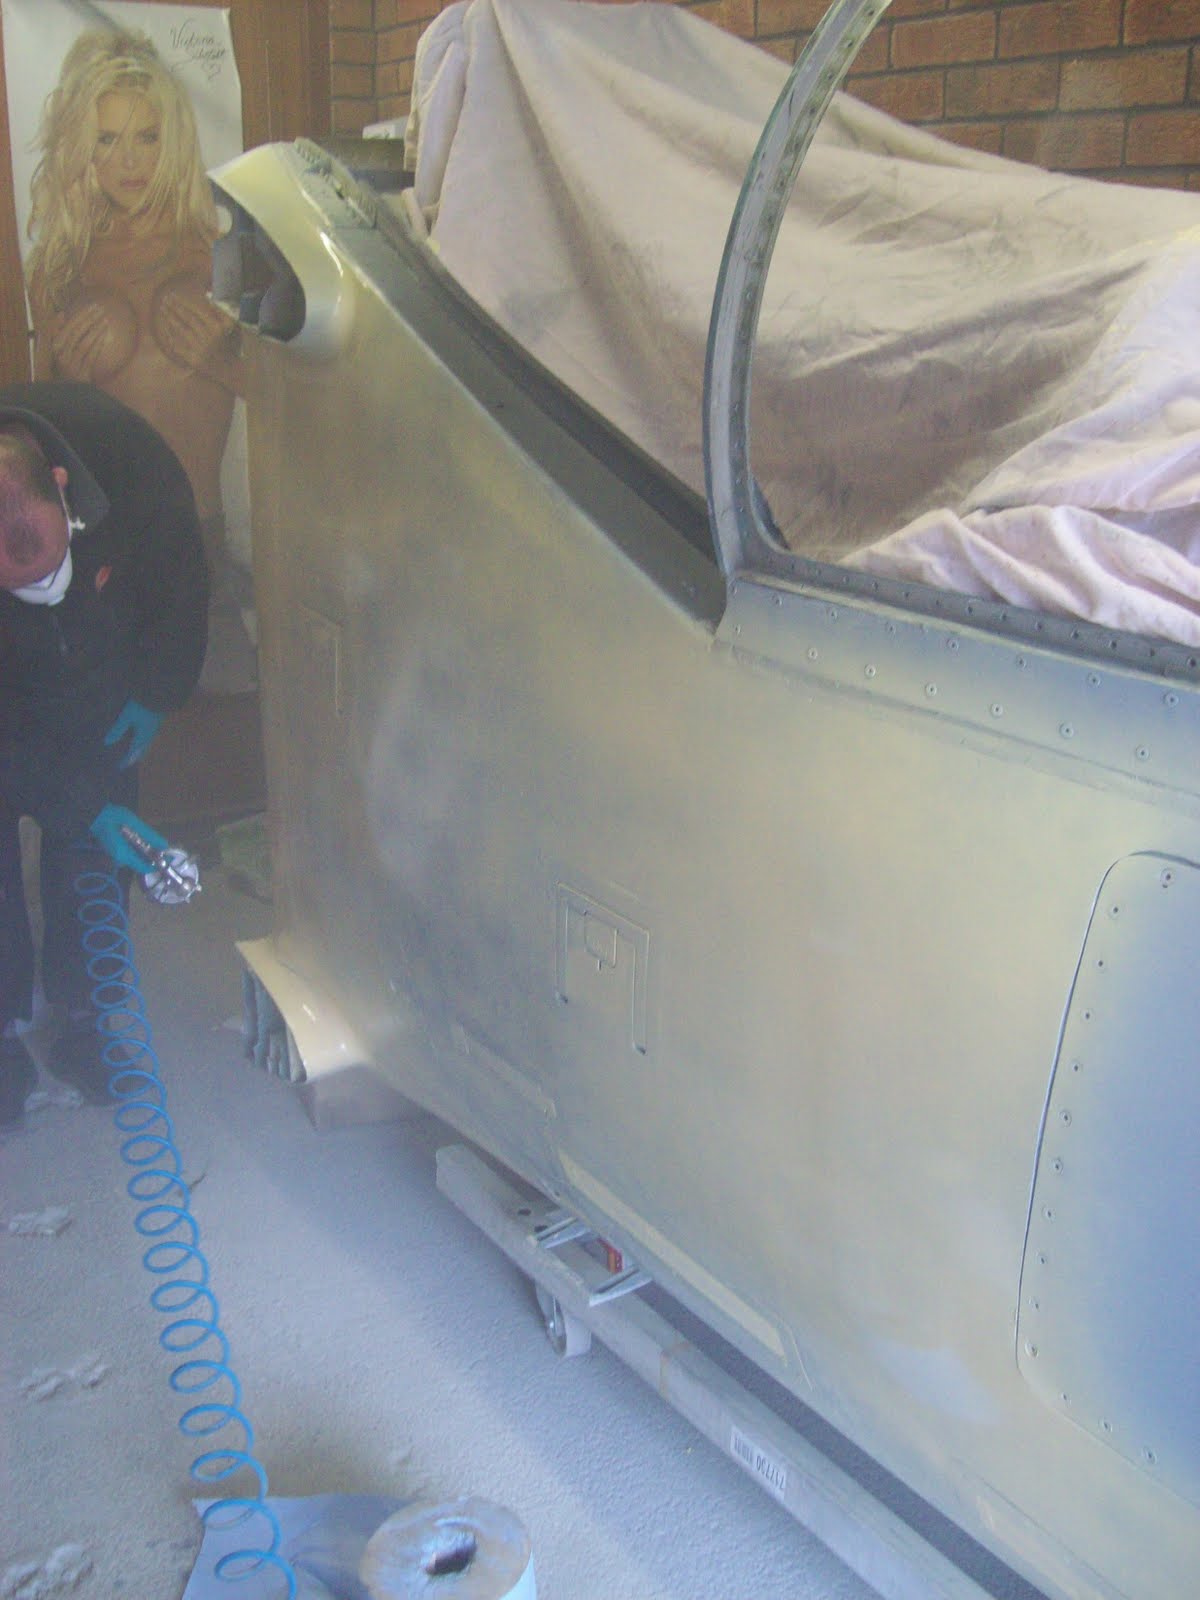
We then found an ejection sticker on eBay, and with us painting the darker grey stripes ourselves, the cockpit was coming together.

The trip to Newark Cockpit Fest was a first for us, dad mum and myself had a great day, being new to the cockpit world we were a bit hesitant of how people would react, and also it gave us an idea of how things looked for when, hopefully I can take mine down next year.


At the show we found Simon (Tonker) who as always made us feel very welcome, so all in all a great day.

More to follow.............           

Wednesday 20 July 2011

Paint

Once the nose cone was all filled and sanded, it was time for the first coat of primer. We sprayed the whole cockpit with just normal tinned car primer, but it wasn’t long before we realized that this will take an age, and a lot of money!

We managed to borrow a compressor and a spray gun from dads work. The boys in the paint shop also sorted us out with some primer that was needed. So we waited for a sunny weekend and set about priming her up.

From the beginning I decided that I wanted my harrier to be in the RAF colour scheme, which by luck, my Tornado MK10 seat is painted in. We took a small part off the seat to a company not far from away from us and got the grey colour made up.

We started to prime her, and the sandy colour primer looked quiet smart as the Gulf war livery! But once we started shooting the grey, it was clear that, that was the obvious choice!

It didn’t take long before she was completely covered in her first coat, and I must admit she was looking pretty cool!

After a long day, she was finally all done in her final coat, all we need now was some decals!...


At the front of our nose cone there is some sort of camera, these are very expensive to buy (when they come up) so we improvised…… we fitted a swivel CCTV camera on the inside and used the clear Perspex dome that came with it, as the glass lens at the front……

Monday 18 July 2011

Once she was completely bondo free, there were a few things that needed doing, for example two new main access panels needed fabricating, the steps made good and working and the holes that were routed out on the nose cone needed filling, but generally she wasn't in too bad a state.


The panels took a few goes before they were able to be fitted to the cockpit, however, the nose cone took around half a day to fix up. 

.... Continued

preparation... to stop mum having ago
Stihl saw started !!!


bottom cuts sorted 
working him too hard

they're off!


The work begins


The day after we went to pick the cockpit up, work began on stripping her of the 'bondo' coating, as the company that previously owned her used her to make GRP moldings for flight simulators. So, out came the sander and away we went.

The harrier’s windscreen seemed to have been involved in a fire of some sort, as the 1” thick perspex had melted away. Fortunately a near ‘scratch free’ screen was included in the deal. So we set about removing the old screen to make way for the new. 
 
A few weeks passed and she was still 95% covered, and the work of removing the bondo seemed never ending! Unfortunately, due to space and her new home residing in the garage, the decision of removing the harrier’s air intakes wasn’t an easy one, but it was a necessity. If we had the space, the decision of removing them wouldn’t have even been thought about!

So the day came when it was time for them to go, all marked up dad started the Stihl saw and started cutting, removing them is not an easy task as Mr Taylor will agree! It took several hours, and a lot of hard work before the two pods were off, and a further foot off the rear of the cockpit. But finally she was able to fit with ease into the garage. 


Still sanding the bondo, we were finally down to the carbon fibre and her original skin. It was a good few weeks of solid sanding before she was completely free of it. But by the end, it was well worth the wait.....

Sunday 17 July 2011

Arriving home.

Well having had a very eventful journey down the motorway, we finally arrived home with my new purchase. Before any unloading began, a cup of tea was on the cards!

The task of unloading her at her new home wasn't going to be an easy one! and as you may have guessed... it wasn't! luckily a few of the neighbours were at hand to help out with getting her off the van.

A few hours later and she was finally sitting on the driveway, after months and months of enquiries, and numerous phone calls later, i finally had my new cockpit project! So, the work began..........

On the way home...

We left Huntington around 2:30pm with a new member on board. I couldn't wait to get home and get her unloaded! Dad kept saying that there was no rush, but believe me, when you are the new owner of a warbird your wishing time to fly! (no pun intended)


We were soon on the motorway heading home, you can see people looking, but one thing that you don't expect is for people to be taking photographs of you on the move! How cool is that! These photos are courtesy of Mr Simon Pullford (Tornado owner).

The collection.

The day of the collection dawned (04:30!) the trip from Liverpool to Peterborough took over 3 and a half hours, excitement made it worse!!

We arrived at the company's premises where we met Ken, one of the directors who made us very welcoming cup of tea. The deal was done and then time for further travel to Huntington where the cockpit lay in wait. There we met Tony, Kens partner... and there she was! loaded onto the back of the pick-up, strapped on and away we went for our long drive home!


Step one................

Having finished building my MK10 ejection seat, i asked dad could we find a cockpit, or at least build a wooden one to fit it to, and dad being dad set off on a quest.


Emails, letters and phone calls went on for months, and then eureka! dad got an email in November 2010, from a chap who lives in Devon, Mr Dave Taylor, who put us in touch with a company in Peterborough who had a current  USMC AV-8B Harrier cockpit for sale! The deal was quickly done and my new project awaited collection.


                                                                     To be continued...